Facebook
 Google
 GitHub
 Linkedin
Jon Chandler
- Joined Jun 12, 2008
- 1,628
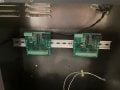
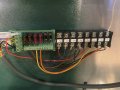
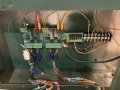
Nice work!
| Thread starter | Similar threads | Forum | Replies | Date |
|---|---|---|---|---|
| D | Running Low-Ohm Meter circuit in parallel | Test & Measurement | 19 | |
| A | Basic Electrical question problem (resistor network) | Homework Help | 10 | |
| E | Voltage regulator question | Power Electronics | 18 | |
| Y | smith chart logical problem question | Wireless & RF Design | 0 | |
|
|
Problem with Electrical Circuit Question | Homework Help | 8 |