Facebook
 Google
 GitHub
 Linkedin
Hi,
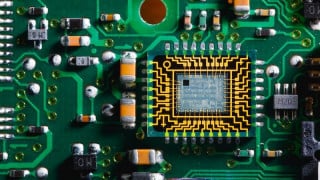
I am here because I would like to know if someone has experience with this attached pic adapter (jpg pics).
For exemple, for the case of DIP28,40 we have
DIP28,40: J1:3/J2, J3, J4, J5, J6, J7:2-3
what does it mean exactely J7: 2-3 ?
what is the difference between 1-2 and 2-3 ? which pins are for 1-2 and which ones are for 2-3 exactely because it's not indicated on the circuit or I can't see it?
Also I would like to know is it 2-3 only for J7 or it's 2-3 for J2, J3, J4, J5, J6, J7 when we write DIP28,40: J1:3/J2, J3, J4, J5, J6, J7:2-3?
Thank you
Attachments
-
2.6 MB Views: 23
-
3.2 MB Views: 18
Last edited: