Facebook
 Google
 GitHub
 Linkedin
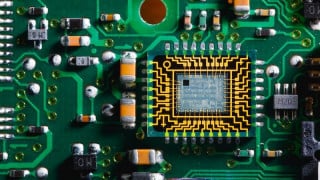
The evolution of my electric kayak anchor continues. For now I'm working on improving the motor driver circuit. First iteration is a circuit from an old youtube video I came across. I have gone from the h bridge implemented with just wires, switches, and diodes to an actual mosfet circuit on perfboard. I'll do a full writeup once I reach the end of the project but for now suffice to say I have a completely working setup and the kayak is back on the water. Here is my next iteration for your critique. I built the circuit on breadboard and now I've mocked it up on DIY Layout Creator. All N channel mosfets. 12v permanent magnet motor that is labeled 6-8 amps. No flyback diodes implemented yet on the stripboard layout. I see several resources saying that they are not needed because the body diodes in the mosfets act in the same capacity. Opinions?
.png")
To
.png")
To
.png")
Any glaring mistakes in the design or implementation?
To
To
Any glaring mistakes in the design or implementation?
Last edited: